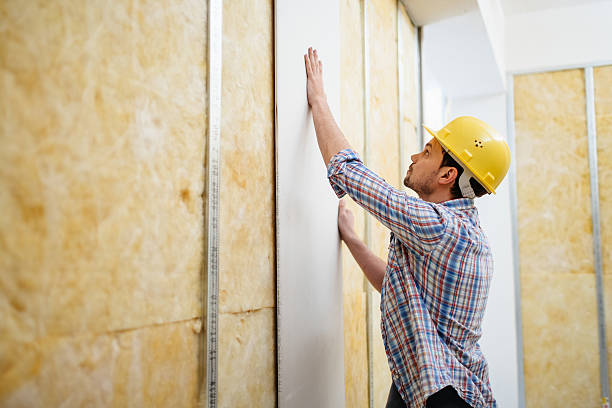
Drywall installation is a fundamental process in modern construction, providing the smooth walls and ceilings we often take for granted. Whether you’re building a new home, renovating, or adding a room, installing drywall correctly ensures a polished and durable finish. In this guide, we’ll walk you through the essential steps of drywall installation and provide tips for achieving professional results.
What Is Drywall?
Drywall, also known as gypsum board or plasterboard, is a construction material used to create interior walls and ceilings. It consists of a gypsum core sandwiched between two layers of heavy paper. Drywall is popular for its affordability, ease of installation, and versatility.
Tools and Materials Needed
Before starting your drywall installation project, gather the following tools and materials:
-
Drywall sheets
-
Measuring tape
-
Utility knife
-
Drywall screws or nails
-
Screw gun or drill
-
T-square
-
Joint tape
-
Joint compound (mud)
-
Sanding sponge or sandpaper
-
Ladder or drywall lift
Steps for Installing Drywall
1. Measure and Cut the Drywall
Start by measuring the dimensions of the area where you’ll install the drywall. Use a T-square to draw straight lines and cut the drywall to size with a utility knife. Ensure precise cuts to minimize gaps and waste.
2. Position and Secure the Drywall
Align the drywall sheet against the studs, ensuring it fits snugly. Use a drywall lift for ceiling installations to hold the sheet in place. Secure the drywall to the studs with screws or nails, placing them every 8 to 12 inches along the edges and every 16 inches in the field. Be careful not to drive screws too deep, as this can damage the drywall.
3. Tape the Joints
Once all the drywall sheets are in place, use joint tape to cover the seams between them. Start by applying a thin layer of joint compound over the seams, then press the tape into the compound. Smooth out any air bubbles and excess compound with a taping knife.
4. Apply Joint Compound
After taping, apply a second layer of joint compound over the tape and screw holes. Feather the edges to ensure a smooth transition between the drywall and the compound. Let it dry completely, then sand the surface to remove any imperfections. Repeat the process with a third layer for a flawless finish.
5. Sand and Prime
Once the joint compound is dry and smooth, wipe down the surface to remove dust. Apply a coat of primer to prepare the drywall for painting or finishing. Primer helps to seal the surface and ensures even paint application.
Tips for a Successful Drywall Installation
-
Use a drywall repair kit for any small mistakes or damage that occurs during installation.
-
Work with a partner to handle large drywall sheets, especially for ceiling installations.
-
Wear a dust mask while sanding to protect yourself from fine particles.
-
Inspect your work frequently to address any issues early.
Maintaining and Repairing Drywall
Drywall is durable but not immune to wear and tear. Over time, you may encounter issues like cracks, dents, or holes. Regular maintenance can keep your walls looking pristine. For minor damage, consider using a drywall repair kit, which includes all the materials needed to patch small areas.
For larger repairs, it’s often best to consult a professional. Proper drywall repair ensures that the patched area blends seamlessly with the surrounding surface, maintaining the aesthetic and structural integrity of your space.
Conclusion
Drywall installation is a straightforward process with the right tools, materials, and preparation. By following these steps and tips, you can achieve professional-quality results, whether you’re tackling a new construction project or addressing drywall repair needs. With attention to detail and proper care, your walls and ceilings will stand the test of time.


Leave a Reply